I was reading reading about convolution matrix which was brillianty explained by Colah. If you're looking for good blog to follow, you might want to add him into the list. One of the application of convolution matrix is image manipulation like applying filters to the image.
The cool part is that the filters are just some matrix that you apply to the image. If you want to know more about the inner working of convolution matrix in image processing, check out this brief explanation from GIMP.
There are several packages that have convolution filter built-in like the one in OpenCV, but just for fun, I implemented image filtering from scratch.
Code
from __future__ import division
import numpy as np
import argparse
import cv2

def apply_conv(img, kernel, factor = 1):
    rows, columns         = img.shape
    img_copy              = img
    kern_row, kern_height = kernel.shape
    window                = kern_row

    for row in xrange(0, rows - window + 1):
        for column in xrange(0, columns - window + 1):
            cell = img[row:row + window, column:column + window]
            conv = cell * kernel
            val  = np.sum(conv * factor)

            if val > 255:
                val = 255
            elif val < 0:
                val = 0

            img_copy[row,column] = val

    return img_copy

def main():
    ap = argparse.ArgumentParser()
    ap.add_argument("-i", "--image", required = True, help = "Path to the image")
    args = vars(ap.parse_args())

    img   = cv2.imread(args["image"])
    b,g,r = cv2.split(img)

    # set the kernel
    edge_kernel        = np.array([[0,0,0,0,0], [0,0,0,0,0], [-1,-1,2,0,0], [0,0,0,0,0], [0,0,0,0,0]])
    edge_detect_kernel = np.array([[0,1,0], [1,-4,1], [0,1,0]])
    sharpen_kernel     = np.array([[-1,-1,-1], [-1,9,-1], [-1,-1,-1]])
    sharpen2_kernel    = np.array([[0,-1,0], [-1,5,-1], [0,-1,0]])
    motion_blur_kernel = np.array([[1,0,0,0,0,0,0,0,0], [0,1,0,0,0,0,0,0,0], [0,0,1,0,0,0,0,0,0], [0,0,0,1,0,0,0,0,0], [0,0,0,0,1,0,0,0,0], [0,0,0,0,0,1,0,0,0], [0,0,0,0,0,0,1,0,0], [0,0,0,0,0,0,0,1,0], [0,0,0,0,0,0,0,0,1]])
    blur_kernel        = np.array([[1,1,1], [1,1,1], [1,1,1]])
    emboss_kernel      = np.array([[-2,-1,0], [-1,1,1], [0,1,2]])

    kernel = emboss_kernel
    # for blur kernel, a good factor usually 1/9
    factor = 1
    b_img  = apply_conv(b, kernel, factor)
    g_img  = apply_conv(g, kernel, factor)
    r_img  = apply_conv(r, kernel, factor)

    new_img = cv2.merge((b, g, r))

    cv2.imshow("image_processed", new_img)
    cv2.waitKey(0)

if __name__ == '__main__':
    main()
Play around with the kernel variable and change it to any of the pre-defined kernel.
Results
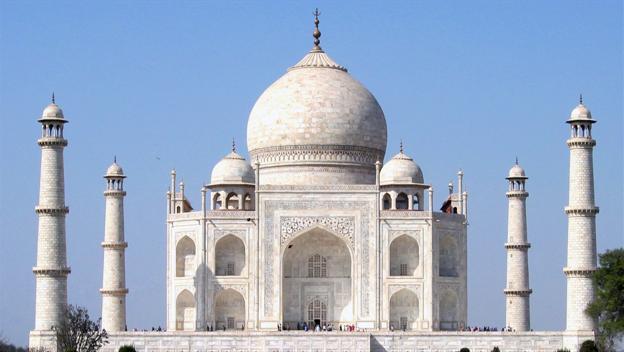
Here are some results.
Original image
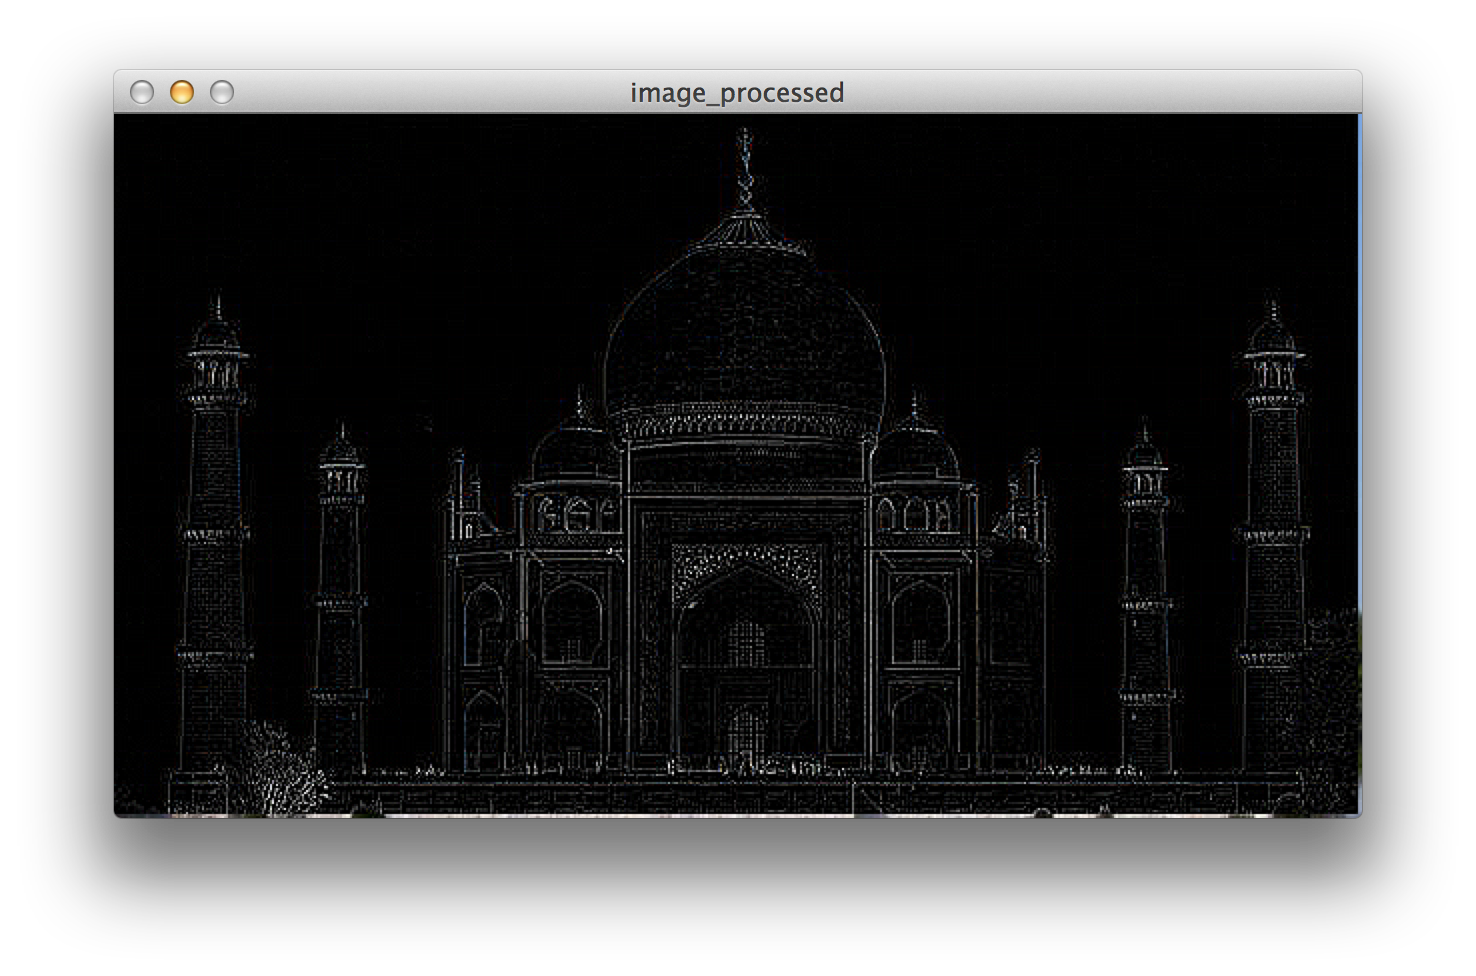
Using edge_detect_kernel
Using motion_blur_kernel
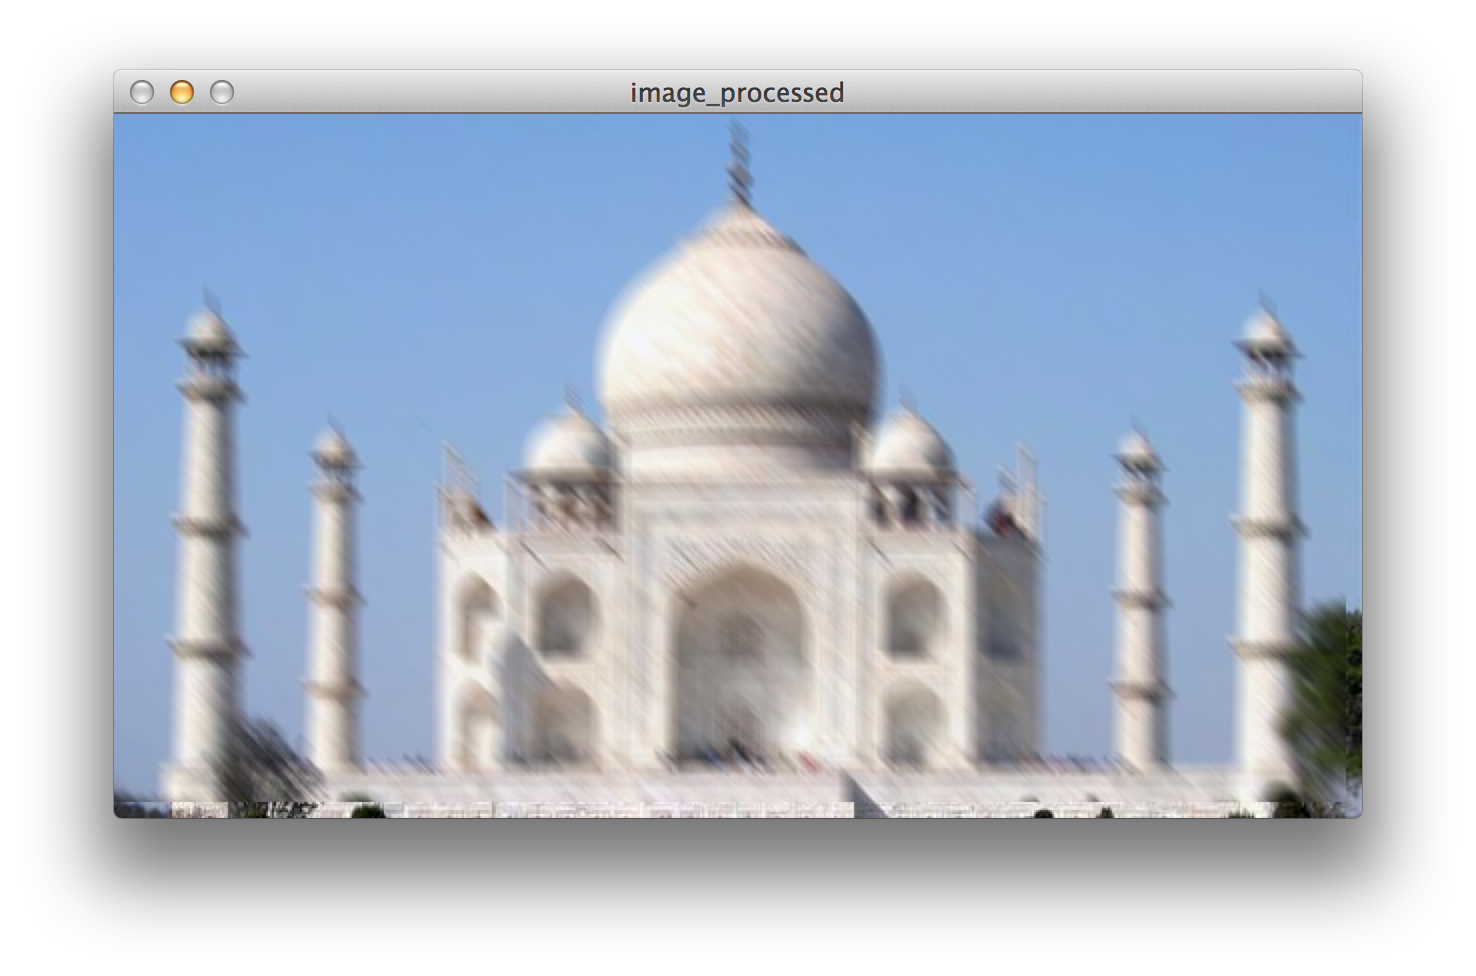
As you may notice, the edge of the image is from the original. This is expected. There are several method to average out the pixel which is unprocessed, the easiest would be to crop the image :p